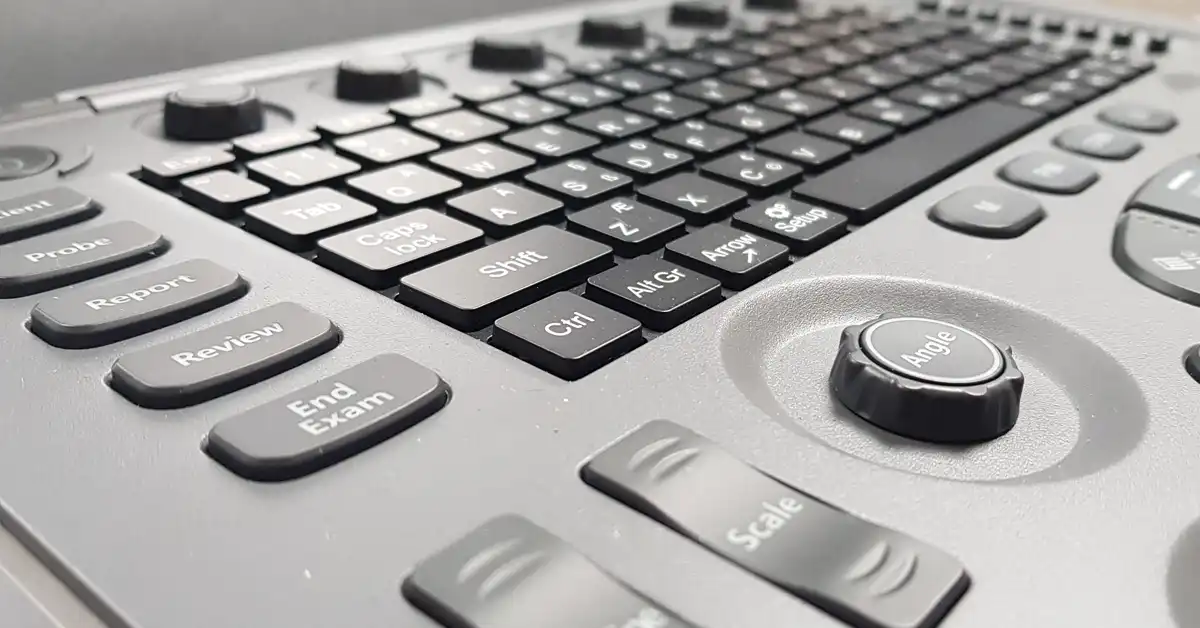
A wee tip and the start of a methodical approach to your scans, before you even start to put your ultrasound probe near the patient, should be to follow the ‘4 P Plan’. It’s a straightforward approach that may seem obvious but helps make sure you are prepared and ready for the scan ahead. Try to make these steps part of your routine each time you scan, soon they will become second nature and you’ll do them without thinking about it…
Preparation
Make sure you carry out thorough preparation of your patient. Perform a good clip of the area to be scanned and always try to clip a bit more than you think you’ll need. It’s not nice trying to clip a bigger patch once the animals coat is covered in ultrasound gel. It’s advisable to degrease the skin after the clip prior to applying plenty of gel, preferrably a good 5 minutes before the scan to allow it to soak in – this does help with the initial scan, but please be aware you’ll still have to apply more gel just as you start the scan (and during!).
Patient
Input in the patient details into the scanner, make sure you also put in a patient ID number – to the ultrasound scanner the ID number is the unique patient identifier and can make it easier to search for a study if you have patients with duplicate names. Quite often a scanner will not allow you to save any images until this data is inputted, so it is important.
Probe
If you have multiple probes for the scanner, make sure the relevant ones for the scan are actually connected to the scanner before starting. It might sound obvious but it’s a pain suddenly realising your linear probe isn’t connected just when you want to have a more detailed look at a superficial structure… and you’re hands are covered in gel too.
Preset
Select the correct preset for the scan to be carried out. Each preset will not only have settings suitable for the scan but will also have the correct analysis package for the scan too.
